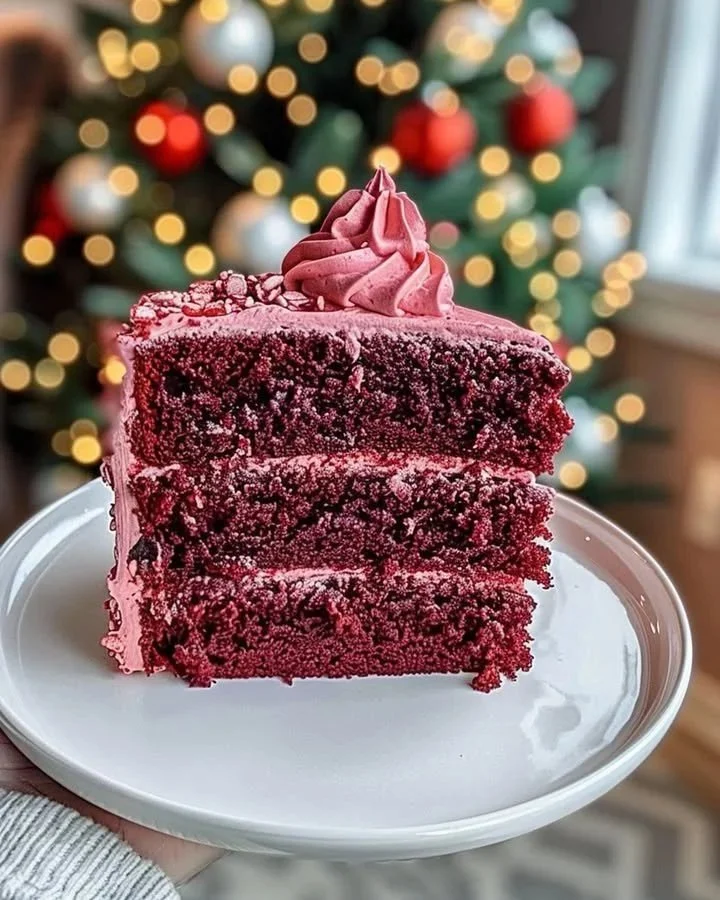
Classic Red Velvet Cake with Creamy Frosting is a stunning dessert that captivates with its vibrant hues and velvety texture. This beloved classic is not only a feast for the eyes but also a delightful treat for the taste buds. Its rich flavor profile combined with the creamy frosting creates an indulgent experience that is perfect for special occasions or simply to satisfy a sweet craving. Making this cake is easier than you might think; with a step-by-step approach, you’ll be whipping up this nostalgic favorite in no time.
Ingredients
To create this mesmerizing Classic Red Velvet Cake, you will need the following ingredients that promise an incredibly tender and flavorful cake:
- 2 1/2 cups of all-purpose flour, which forms the backbone of the cake with its fine, soft texture.
- 1 1/2 cups of granulated sugar, adding sweetness and moisture to your cake.
- 1 teaspoon of baking soda, which functions as the leavening agent, helping the cake rise to perfection.
- 1 teaspoon of salt to balance the sweetness and enhance the flavors.
- 1 teaspoon of cocoa powder for a subtle chocolate undertone.
- 1 1/2 cups of vegetable oil, contributing to the cake’s moist, luscious texture.
- 1 cup of buttermilk, at room temperature, for a tender crumb and tangy flavor.
- 2 large eggs to provide richness and structure.
- 1 teaspoon of pure vanilla extract, infusing warmth and depth into every bite.
- 1 teaspoon of white vinegar, which reacts with the baking soda to create that signature red color and fluffy texture.
- 1 tablespoon of red food coloring to make your cake visually pop.
For the creamy frosting, you’ll need:
- 1 cup of unsalted butter, softened, which creates a rich and smooth frosting base.
- 4 cups of powdered sugar, sifted, for the perfect sweetness and light texture.
- 1 teaspoon of pure vanilla extract (for frosting) to enhance the flavor.
- 4–6 tablespoons of heavy cream or milk to adjust the frosting consistency to your liking.
- Optional: additional red food coloring for a vibrant frosting.
Cooking Time & Tips For Classic Red Velvet Cake
When it comes to cooking time, the Classic Red Velvet Cake can be prepared relatively quickly, with the baking taking only about 25-30 minutes. This makes it a wonderful choice for a last-minute dessert or a planned gathering. For those who enjoy a slow preparation, you can take your time with the frosting, allowing it to reach the perfect creamy consistency.
To make sure your cake turns out beautifully:
- Ensure your ingredients, especially the butter and eggs, are at room temperature for better blending.
- Do not overmix the batter, as this can lead to a denser cake.
- Always check for doneness by inserting a toothpick into the center; it should come out clean when the cake is ready.
Step-by-Step Directions
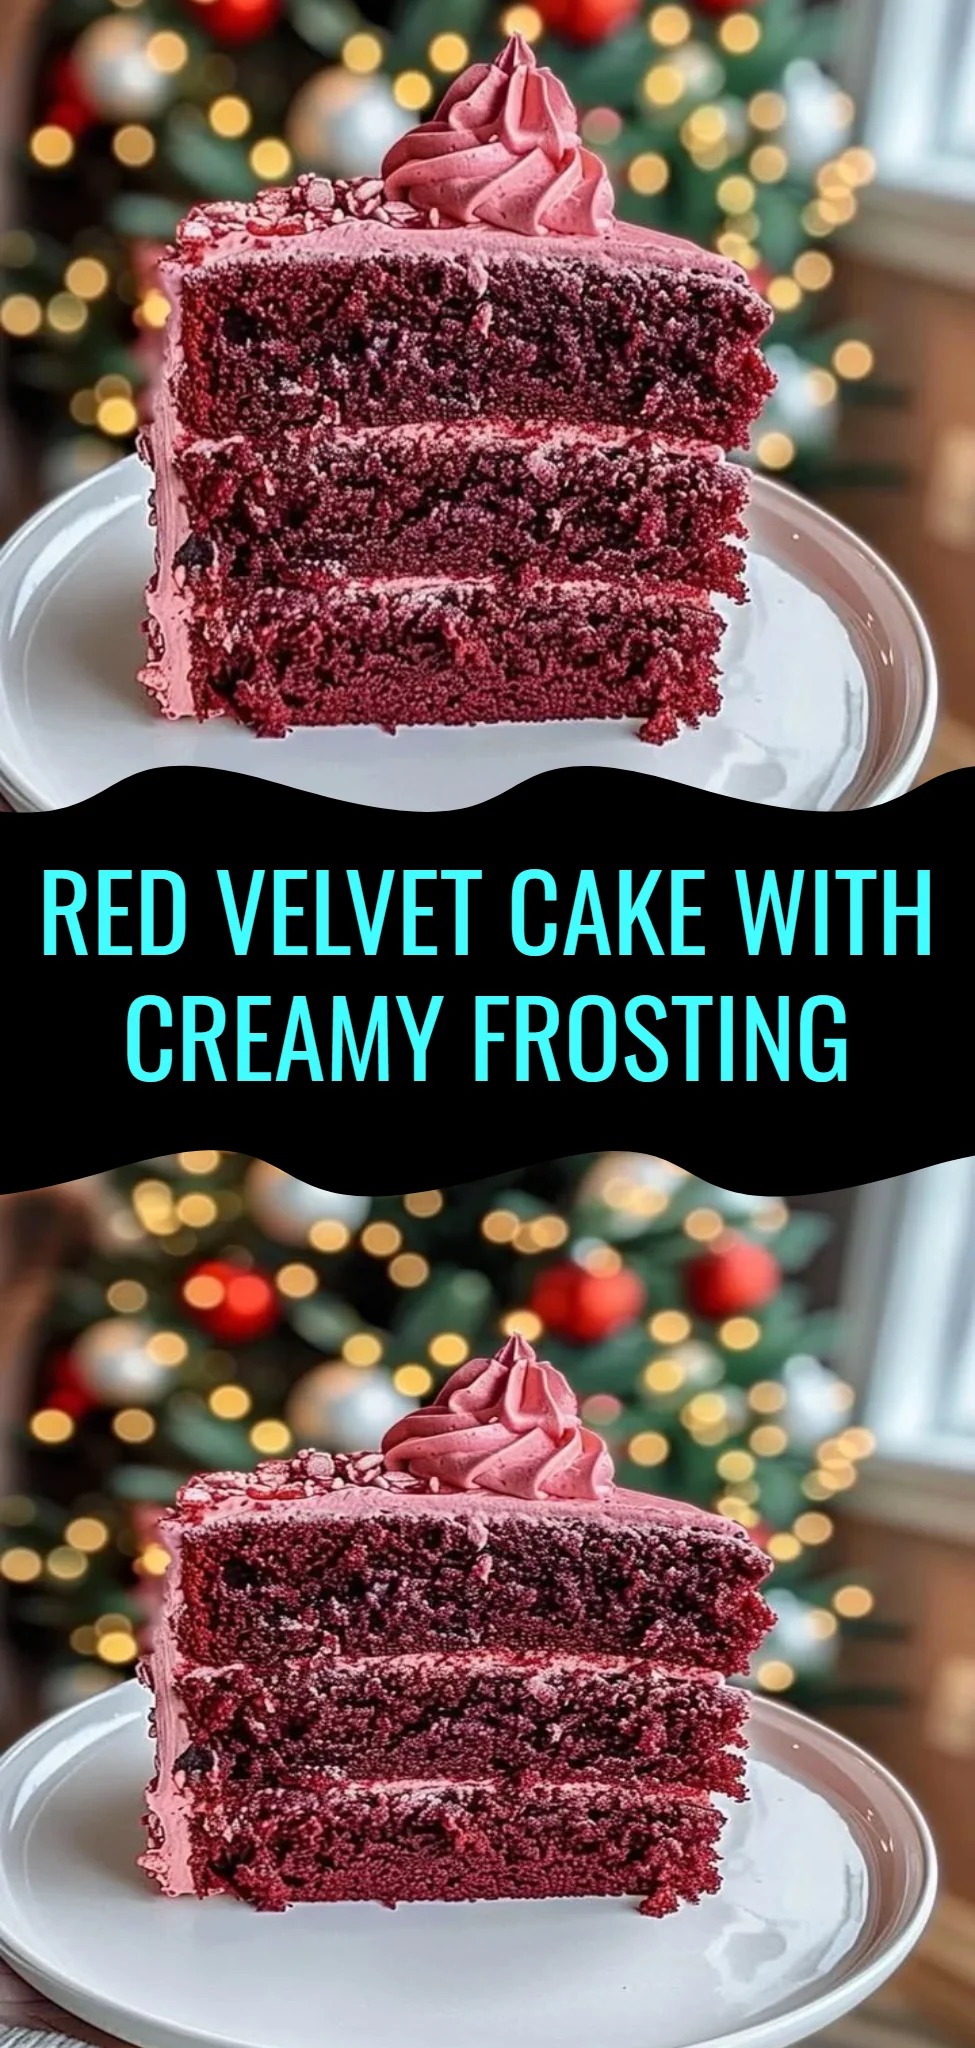
Preheat the oven to 350°F (175°C). Prepare two 9-inch round cake pans by greasing them with butter or lining the bottoms with parchment paper for easy removal.
In a large mixing bowl, whisk together the all-purpose flour, granulated sugar, baking soda, salt, and cocoa powder until well combined. The dry ingredients should appear light and fluffy, ensuring your cake will have a lovely texture.
In a separate mixing bowl, combine the vegetable oil, buttermilk, eggs, vanilla extract, white vinegar, and red food coloring. Mix these until well blended; the vibrant red hue should be both exciting and inviting.
Gradually add the wet mixture to the dry ingredients, stirring gently until the batter is smooth and free of lumps. This is where the magic happens, as the colors and textures meld together perfectly, creating a beautiful batter.
Divide the batter evenly between the prepared cake pans and bake them in the preheated oven for 25-30 minutes. Keep an eye on them, and check for doneness with a toothpick inserted into the center—it should come out clean when done.
Once baked, allow the cakes to cool in the pans for about 10 minutes before transferring them to a wire rack to cool completely. This helps maintain their moisture while avoiding soggy bottoms.
While the cakes cool, prepare the frosting. Start by beating the softened butter in a large bowl until it becomes light and fluffy. Gradually add in the sifted powdered sugar, mixing until fully combined for a smooth frosting texture.
Add the vanilla extract and continue mixing. Slowly incorporate heavy cream or milk until the frosting reaches your desired consistency—smooth yet spreadable. If you prefer a brighter look, you can mix in a few drops of red food coloring at this stage.
Once the cakes are thoroughly cooled, it’s time to assemble. Place one layer on a serving plate and frost the top. Carefully place the second layer on top and frost the top and sides of the entire cake.
Finally, slice and serve your amazing Classic Red Velvet Cake with Creamy Frosting immediately. Enjoy each mouthful of soft, moist cake paired perfectly with the sweet, creamy frosting.
Serving Suggestions & Occasions
Classic Red Velvet Cake is a versatile dessert, perfect for a myriad of occasions. Whether you’re celebrating a birthday, hosting a holiday gathering, or simply treating yourself after a long day, this cake fits the bill. Serve it with a generous scoop of vanilla ice cream, alongside fresh berries for a pop of tartness, or enjoy it on its own with a delightful cup of tea or coffee.
This cake is equally perfect for romantic dinners or as a showstopper for a family dessert buffet. Its eye-catching color and rich flavor make it an instant crowd-pleaser, ensuring it will be the centerpiece of any table.
Common Mistakes For Classic Red Velvet Cake
Even though baking might seem straightforward, some common pitfalls can lead to less-than-perfect results. Here are a few mistakes to avoid:
-
Using Cold Ingredients: Always ensure that your butter and eggs are at room temperature for better mixing and superior texture.
-
Improper Mixing: Overmixing the batter can lead to a dense cake. Mix just until combined for a light, airy texture.
-
Incorrect Baking Time: Monitor your cake closely toward the end of the baking time. An underbaked cake can collapse while an overbaked one may be dry.
-
Skipping the Cooling Process: Allow the cakes to cool properly before frosting. Frosting warm cakes can lead to melting and a messy appearance.
By being mindful of these common mistakes, you can produce a stunning and delicious red velvet cake every time.
Healthier Alternatives & Variations
For those looking to create a lighter version of Classic Red Velvet Cake, consider these alternatives:
- Swap sugar for honey or maple syrup in the batter for a natural sweetener option.
- Use whole wheat flour or almond flour instead of all-purpose flour to increase fiber and nutrients.
- Substitute Greek yogurt for buttermilk for added protein and probiotics that help digestion.
- Consider adding a layer of cream cheese frosting for a twist on the classic flavor.
Additionally, you might try layering the cake with fresh fruits or nuts for a fun texture contrast. Vegan alternatives can also be used, such as replacing eggs with flaxseed meal or chia seeds mixed with water.
FAQs
-
Can I make this cake ahead of time?
Yes, the cake layers can be baked a day in advance. Store them in an airtight container at room temperature until ready to frost and serve. -
How long will the cake last?
Properly stored, the cake can last for about 3-4 days at room temperature or up to a week in the refrigerator. -
Can I freeze the cake?
Absolutely! You can freeze the cake layers wrapped tightly in plastic wrap and foil for up to three months. Frost after thawing for best results. -
Is there a gluten-free version of this cake?
Yes, you can replace the all-purpose flour with a gluten-free flour blend. Ensure your other ingredients are also gluten-free. -
What if I don’t have buttermilk?
You can easily make a substitute by mixing 1 cup of regular milk with 1 tablespoon of vinegar or lemon juice. Let it sit for about 5 minutes before using. -
Can I use a different frosting?
Certainly! Cream cheese frosting or even a chocolate ganache would be delicious alternatives to the creamy frosting.
Conclusion
Classic Red Velvet Cake with Creamy Frosting is more than just a dessert; it’s a joyous experience that evokes memories of celebrations and family gatherings. Its beautiful color and rich flavor promise to captivate anyone who takes a slice. With this step-by-step approach, you can easily create a stunning cake that will have everyone asking for seconds. So gather your ingredients, roll up your sleeves, and dive into this delightful baking adventure—you won’t be disappointed!
Classic Red Velvet Cake with Creamy Frosting
Ingredients
For the Cake
- 2.5 cups all-purpose flour Forms the backbone of the cake.
- 1.5 cups granulated sugar Adds sweetness and moisture.
- 1 teaspoon baking soda Functions as the leavening agent.
- 1 teaspoon salt Balances the sweetness.
- 1 teaspoon cocoa powder For a subtle chocolate undertone.
- 1.5 cups vegetable oil Contributes to the cake's moist texture.
- 1 cup buttermilk At room temperature for a tender crumb.
- 2 large eggs Provides richness and structure.
- 1 teaspoon pure vanilla extract Infuses warmth into every bite.
- 1 teaspoon white vinegar Creates the cake's signature red color.
- 1 tablespoon red food coloring Makes your cake visually pop.
For the Frosting
- 1 cup unsalted butter Softened for a rich frosting base.
- 4 cups powdered sugar Sifted for the perfect sweetness.
- 1 teaspoon pure vanilla extract (for frosting) Enhances the frosting flavor.
- 4–6 tablespoons heavy cream or milk Adjusts frosting consistency.
- optional additional red food coloring For a vibrant frosting.
Instructions
Preparation
- Preheat the oven to 350°F (175°C) and prepare two 9-inch round cake pans by greasing them with butter or lining the bottoms with parchment paper.
- In a large mixing bowl, whisk together the all-purpose flour, granulated sugar, baking soda, salt, and cocoa powder until well combined.
- In a separate mixing bowl, combine the vegetable oil, buttermilk, eggs, vanilla extract, white vinegar, and red food coloring.
- Gradually add the wet mixture to the dry ingredients, stirring gently until the batter is smooth.
- Divide the batter evenly between the prepared cake pans and bake for 25-30 minutes.
- Allow the cakes to cool in the pans for about 10 minutes before transferring to a wire rack.
Frosting
- In a large bowl, beat the softened butter until light and fluffy.
- Gradually add the sifted powdered sugar, mixing until fully combined.
- Add the vanilla extract and slowly incorporate heavy cream or milk until desired consistency is reached.
- Optional: Mix in red food coloring for a brighter look.
Assembly
- Once cooled, place one cake layer on a serving plate and frost the top.
- Carefully place the second layer on top and frost the top and sides of the cake.
- Slice and serve immediately.